Tool Installation
Need more information? Want a demo?
Send us an email!, and we will get in touch with you schedule a demo.
Below are the generic instructions for installing an LTI 1.3 tool from the eLearning Media Framework in Blackboard Learn. We will indicate which steps apply to your specific application.
To perform this configuration, you need access to the Blackboard Learn Administration Panel.
Install the LTI
Go to Administration Panel > Integrations > LTI Tool Providers. You will see the list of available LTI tools on the platform and click on Register LTI 1.3/Advantage Tool.

On the LTI tool registration page, you must provide the corresponding Client ID, which should be provided by eLearning Media. If you can't find it, contact us.
Enter that ID in the box and click Submit.

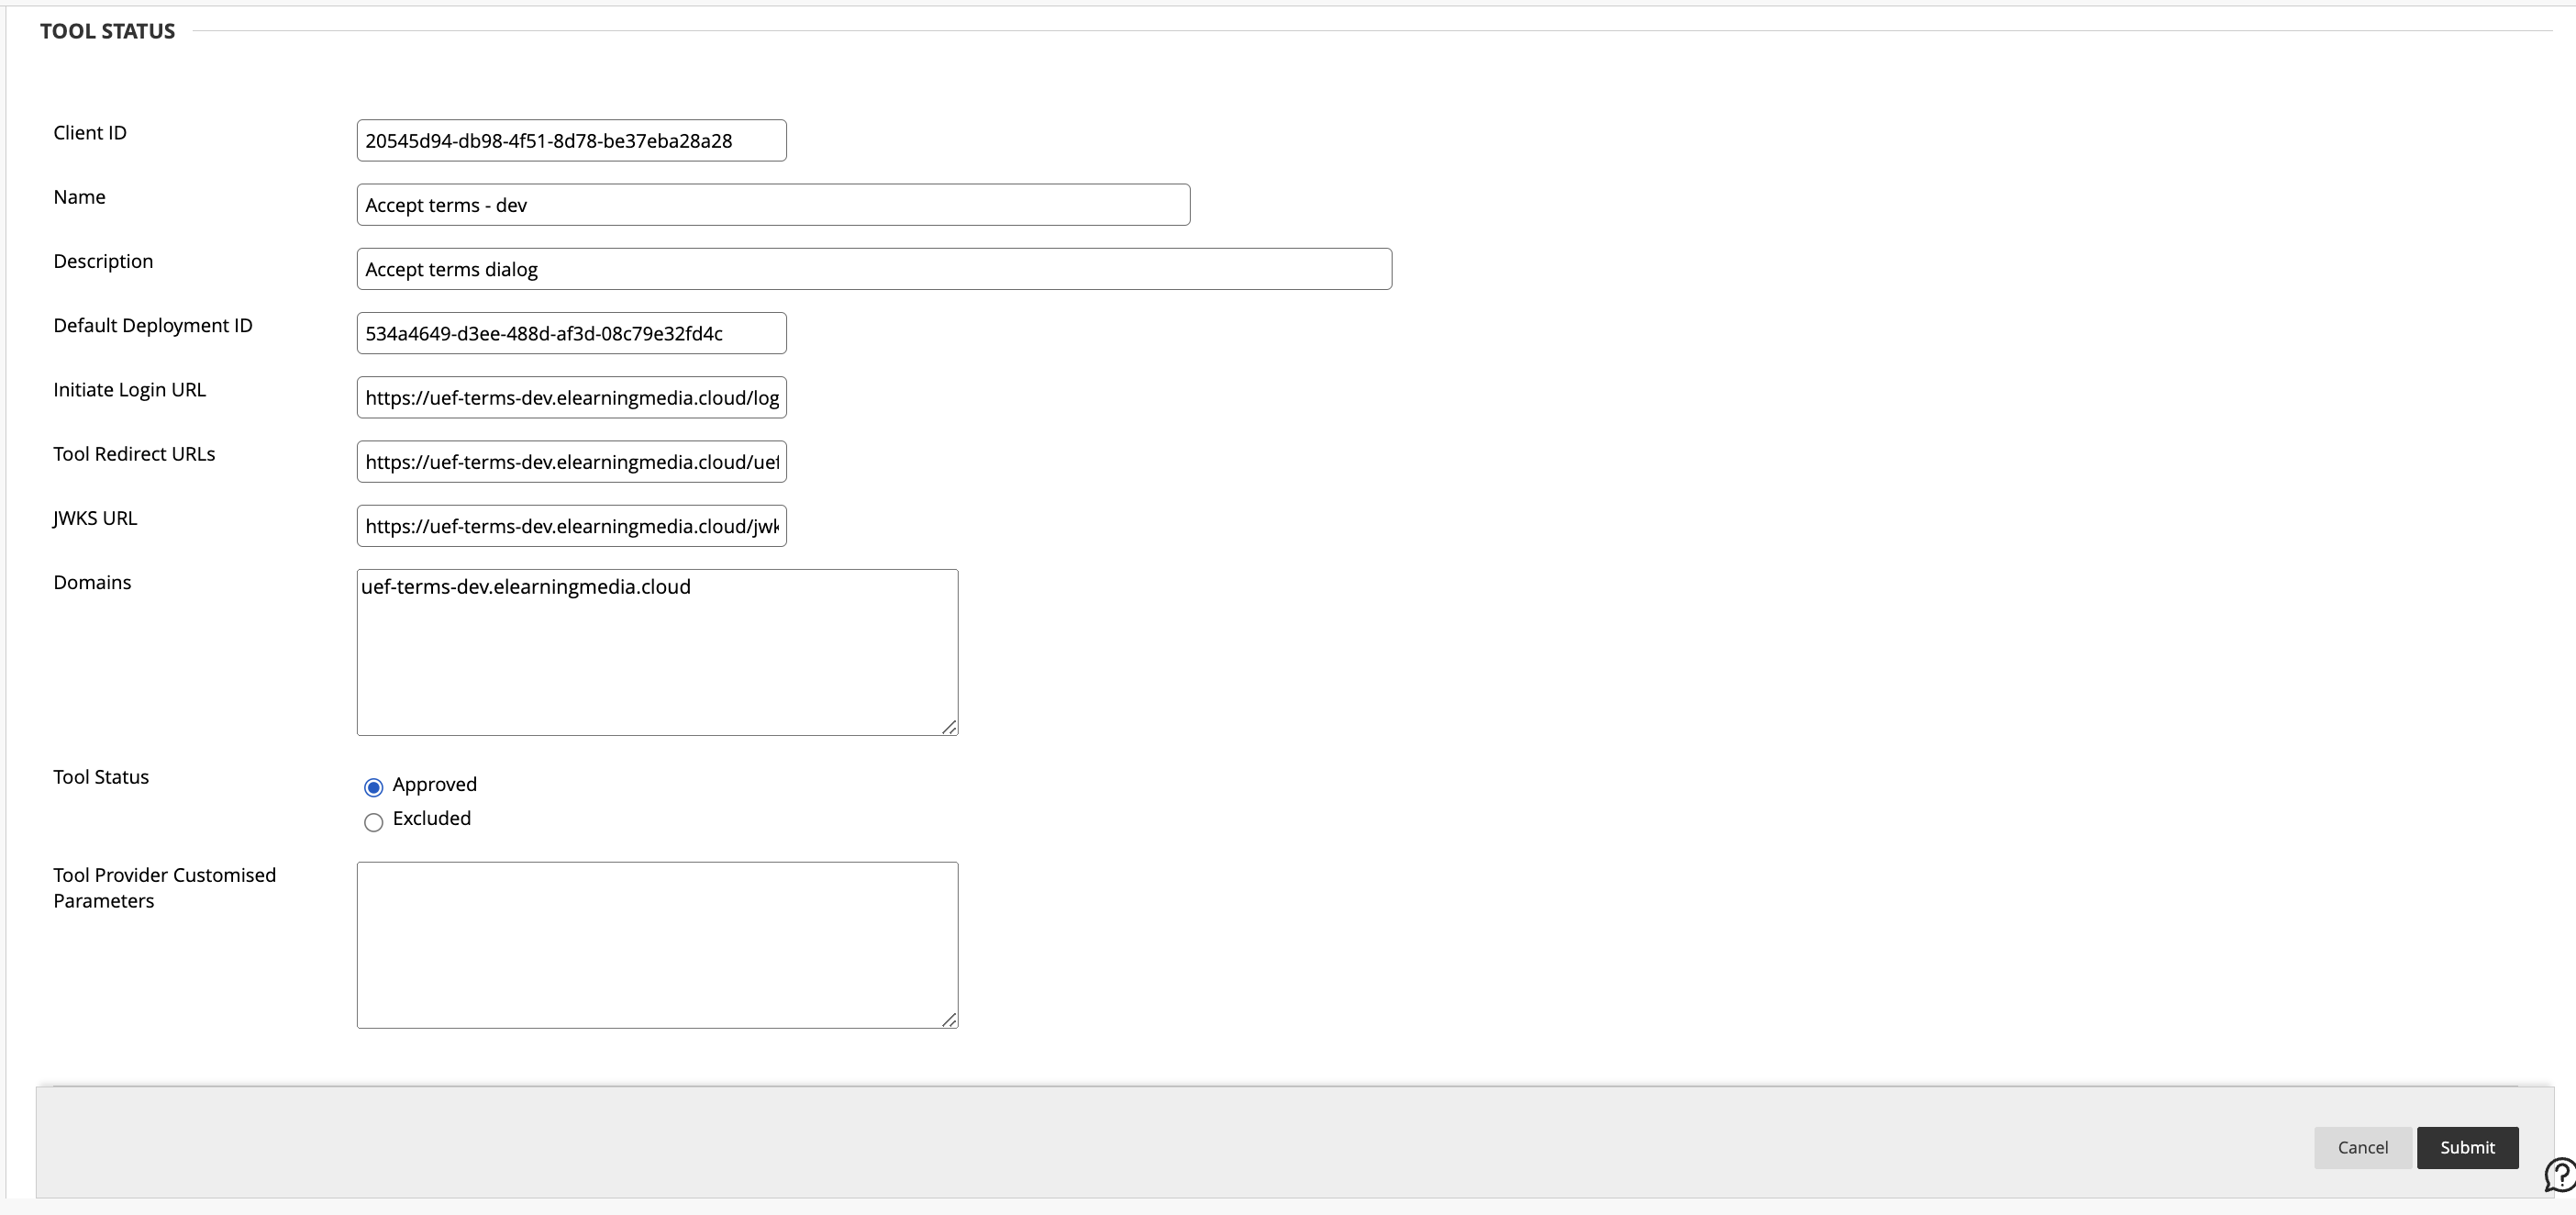
Once the request is submitted, you will see a page showing the status of the tool we just registered. Check that the tool's status is set to Approved.
Additionally, it is important to save the Deployment ID and send it to us to approve the tool deployment. This will be done in a later step.

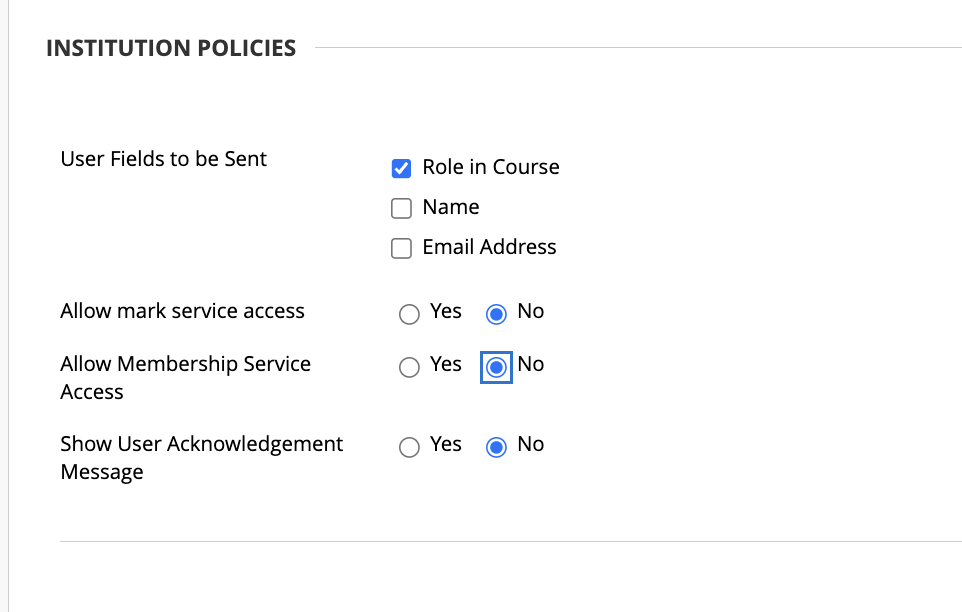
Further down, in the Institution Policies section, check the options indicated by the eLearning Media team and disable the others.

Finish registering the tool by clicking Submit.
Remember to send us the Deployment ID to "soporte@elearningmeida.es" to validate the tool. This step is crucial. We will inform you when everything is ready to proceed.
REST API Integration
Some tools require configuring an integration with the REST API in addition to the LTI configuration; if this is the case, the eLearning Media team will inform you.
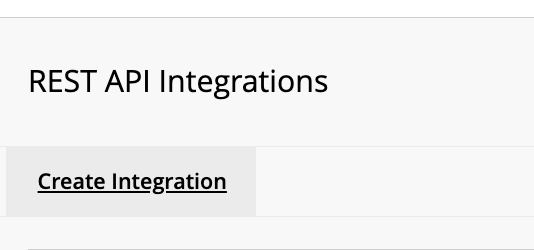
Go to Administration Panel > Integrations > REST API Integrations and click Create Integration in the menu.

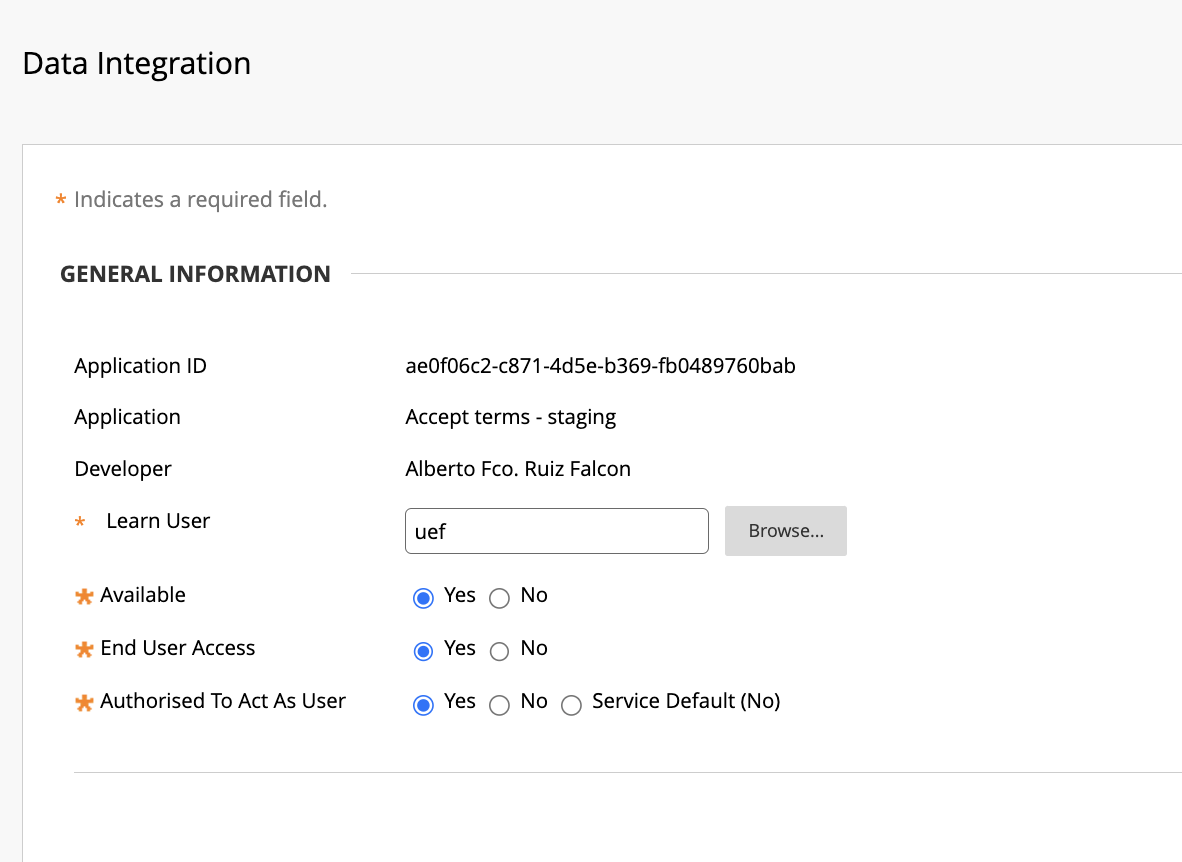
On the integration creation page, you will be asked for the corresponding Application ID, which is different from the LTI tool ID and will be provided by eLearning Media.
Add the user that will be used for the integration. This user must have the necessary permissions to execute API functions. For production applications, it is recommended to create a new user with the required permissions to avoid security issues. Using the administrator user is highly discouraged. We will specify the necessary permissions for this user.
Check Yes for the options User Access and Authorized to Act as User and finish by clicking Submit.

Help us improve! Do you have any suggestions or improvements for this documentation? Let us know!